My First Beer: How I Started Homebrewing
I remember my first beer. I dumped it down the drain.
I brewed my first beer as a way to deal with something extremely personal. Growing up in Aurora and becoming involved in the aftermath of the theatre shooting, I needed something in my life that could center me and get me through a dark depression. On August 2nd, 2012, I attended “A Night to Remember” Beer Festival as a way to get out of the house, and to be with others that were hurting. It was at the festival that I learned about Alex Teves, about craft beer, and about homebrewing.
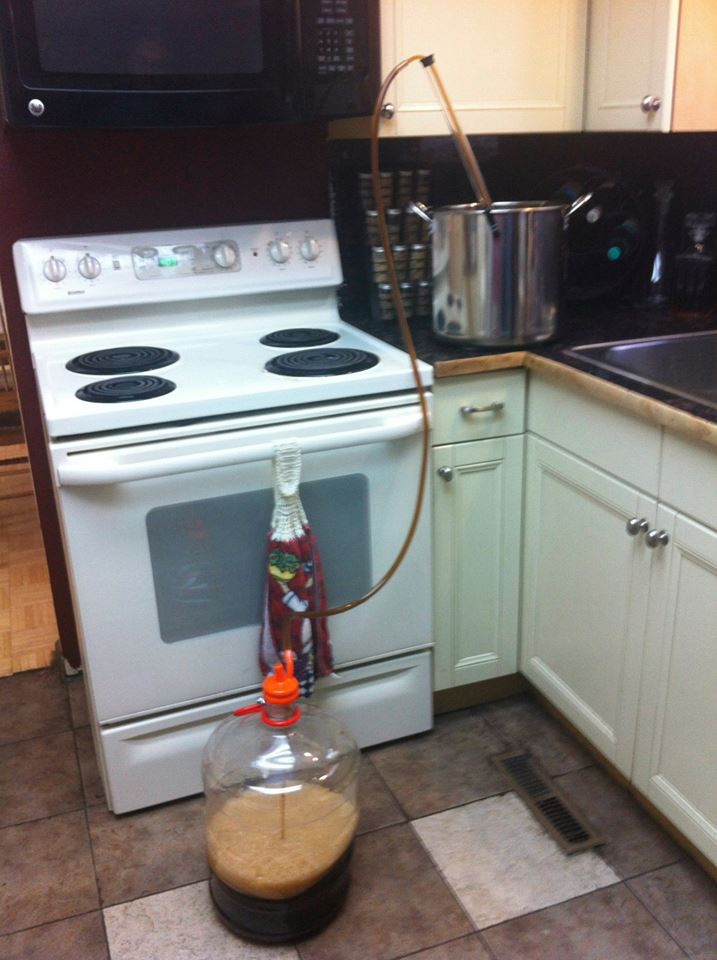
Unfortunately, the beer was undrinkable and infected. I remember the faces my dad and I made after taking our first sip, and then our second sip, thinking maybe that’s what homebrewed beer tasted like. I dumped five gallons of Dry Dock’s Vanilla Porter Clone down the drain and went back to the homebrew shop to buy another kit. I dumped that beer, too.

Frustrated with spending so much money on equipment, books, and ingredients, I turned to the internet for answers, which only confused and irritated me. While the internet is full of great information, it’s also full of bad opinions and incorrect facts. Separating out what worked and what didn’t was hard for me, so I’m grateful that I met Win.
Win moved to Colorado from California, where he had been brewing for 14+ years. We met at work and quickly became friends. He taught me how to brew using simple instructions and made it relatable. I was never really good at science in school, so when he started talking about temperature rests and water chemistry, he explained why we were doing it and why it mattered. He also taught me about “no chill.”
No chill brewing simply means that you don’t cool the wort down immediately after boiling. This technique saved my beers. In the three years that I have been homebrewing, I haven’t made a single infected beer. While “no chilling” is not practical at the professional level, it is incredibly convenient at the homebrew level. It’s beneficial because it significantly limits the potential for infection due to the small amount of time it takes to crack open the lid and pitch the yeast.
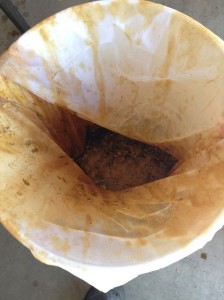
To get started, all you need is a HDPE (high-density polyethylene) ale pail and a straining bag that fits over your bucket. Once the boil is done, simply dump all of your wort into the bucket, then pull the bag out. From here, seal the lid onto the top of the bucket, put an airlock on, and place it in a cool room. Once the beer has sat overnight, pitch the yeast and wait*.
Every beer I have made since utilizing this process has been clear. I use Irish Moss and cold crashing in a keg and have never gotten botulism. I’ve won a few awards, including for an American Light Lager. Each time I am asked about no chill brewing, my best answer is this: Try it. I have converted a few members of our club —it’s easier, it costs less money, and it saves water. Instead of buying hop and grain socks, I wash out my mesh bag. I also compost all of my spent grain and hops in my backyard. This method is essentially Brew-In-A-Bag, but reversed and with no chiller. If you’d like to try any of my beers, send me an email or stop by a Fermentologists meeting. You can find all of our information on Facebook or on the website.
*Note: Since the wort remains warmer for a longer period of time, some brewers throw hops in later during the boil by adding 20 minutes to the hop schedule


-
Hey Scott, in your no-chill experience, how often do you encounter DMS? From what I’ve read, it can be a concern with the slow-cooling. Thoughts?
-
Hey Ryan,
No DMS problems. I am asked this pretty often and I’m not sure where it is coming from. I have made a lot of beers, including Pilsners with no DMS. The key is to have a vigorous boil.
-


Comments