Homebrewing Recipe | Top of the Morning Cream Ale
Homebrewers are driven by the desire to make new recipes. Usually when we recreate an old recipe, we try to improve on past mistakes or change ingredients to make a better product. This is the one beer recipe I’ve made more than once thanks to it’s quality. I present to you my award-winning Top of the Morning Cream Ale!
That’s no exaggeration. My cream ale was a Silver Medalist at the 2016 Dominion Cup in the Cream/Kolsch/Blonde category. As an extract brewer with only two years of experience, I didn’t think that I could get that far in Virginia’s largest homebrew competition. No matter the ingredients or their sources, some of the finest beers can fall into place through intuitive research. This is the ideal Southern summertime beer.
The recipe emerged when my local homebrew club chose cream ale for one of our earliest in-house competitions. Cream ales are underappreciated in the craft beer world because they are in the same BJCP category as American light lagers. Make no mistake—there’s a reason why so many craft brewers pay tribute to this style. It has more flavor and nuance than any adjunct lager found on the market.
The Recipe
- 4 lbs Light DME
- 1 lbs of Flaked Corn
- 8 oz of Flaked Wheat
- 8 oz of Flaked Oats
- 8 oz of Crystal 10L Malts
- 2 oz of Fuggle Hops
- 1 pkg of White Labs California Ale Yeast (WLP #001)
Cream ale recipes rely on an incredibly simple grain bill without any distinctive hop. The most variation you tend to find in this style is the yeast strain, which tends to learn towards a Kolsch style blend. Cream Ales must use a percentage of flaked corn for sweetness, so I used California Ale Yeast’s fruity character to mask some of the corn aroma for sensitive palates. Still, the style followed the same process I’ve been doing for extract beers:
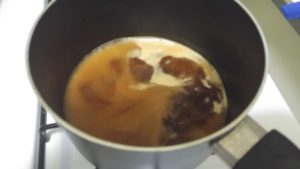
First, make a batch starter the day before brewing by boiling ½ cup of Dry Malt Extract in 2 cups of water for 10 minutes. Keep an eye on this mixture, because it can bubble incredibly fast. Carefully pour the mixture into a sanitized Erlenmeyer Flask and place the wide base into an ice bath to chill. Once the mixture has cooled, add your liquid yeast to beer and shake gently until combined. Cover your flask with a sanitized piece of aluminum foil.
Some people place the glass on a specialized stir-plate for the best yield results, but I spin the beer every two hours or so for a similar effect. This puts you in motion to brew the next day, so clean and sanitize all your equipment in the mean time!
On brew day, heat 2 ¾ gallons of distilled or purified water to 180 degree Fahrenheit. Then pour the water carefully into your primary fermentation bucket, the same kind you’d find in any starter homebrewing kit. The water here will work as both our top-off water and the water used for fly-sparging to extract all the sugars from the grains.
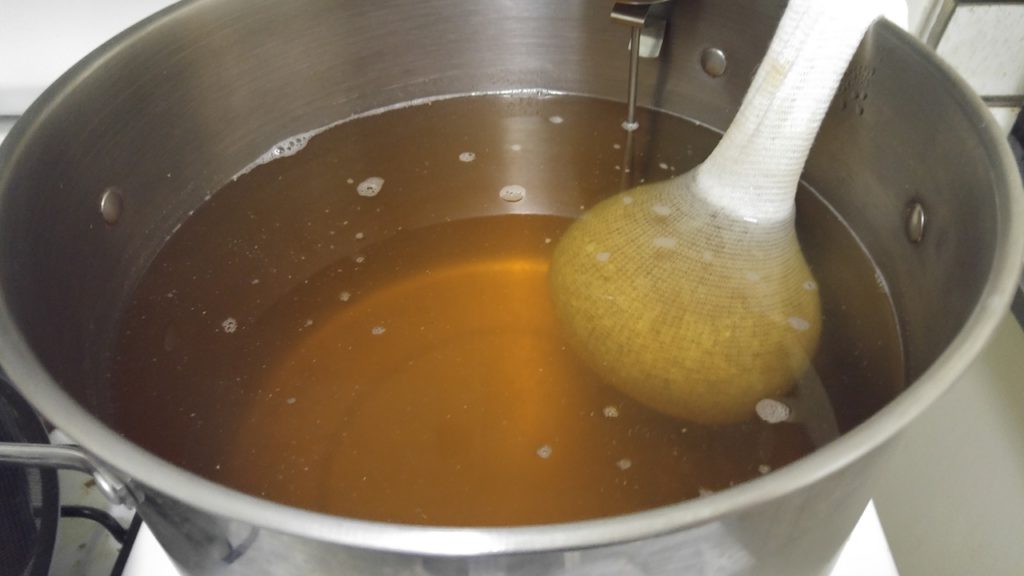
Refill your brew kettle with 3 gallons of water and get the water to a temperature of 155 degrees Fahrenheit. Add your cheesecloth bag filled with the oats, wheat, corn, and Crystal 10L malts to steep for 60 minutes while checking the temperature for consistency. After the steeping time has past, crank the heat up to 169° Then, remove the grain bag from your wort and put it into the bucket with top-off water. Regular sparging is done for 20 minutes with hot water but we will leave our grains in the 130°-140°F water for an hour to match the grain extracting efficiency.
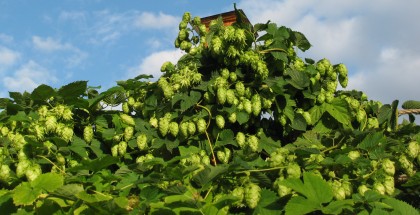
As your wort heats to 212°F, add in your malt extract in small batches stirring each time until the bag is empty. When you’ve finished mixing in the extract, put 2 oz of hops into a small bag to add once the wort comes to a rolling boil. Cream ales ask for low alpha acid hops with floral, spicy, or herbal notes, which is why I like to use Fuggles for their mild flavor. Boil the hops for 60 minutes, then remove the hop bag and take the wort off the heat.
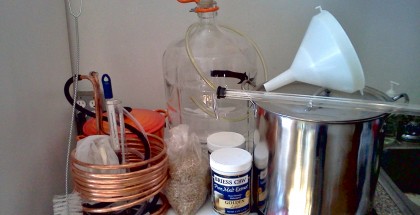
Now I used to cool down my wort by moving it to the sink and surrounding it with pounds of ice while stirring. But lately I was having trouble getting my beer down to the sweet spot of 68 degrees. Using a wort chiller has dramatically improved this. If you use one, then you’ll know to add it 15 minutes before turning off the boil to sterilize it. Once the wort cools, carefully pour it into your primary fermentation bucket and then add your yeast starter, stirring a few times for good measure. Place it in a closet, basement, or both to ferment for a minimum of 14 days.
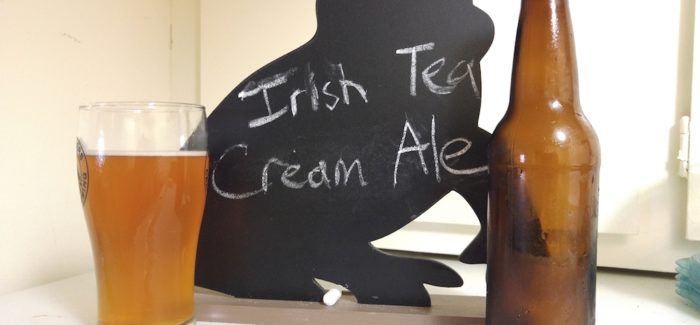
Now what was funny about our homebrewing competition is that all of the brewers had the same idea: a cream ale is just too simple on it’s own. Every single entry was given a unique twist on the original base. The beers included ingredients such as oranges, lemongrass, blueberry & thyme, but my winning entry with the judges featured a very unique choice: Irish Breakfast tea.
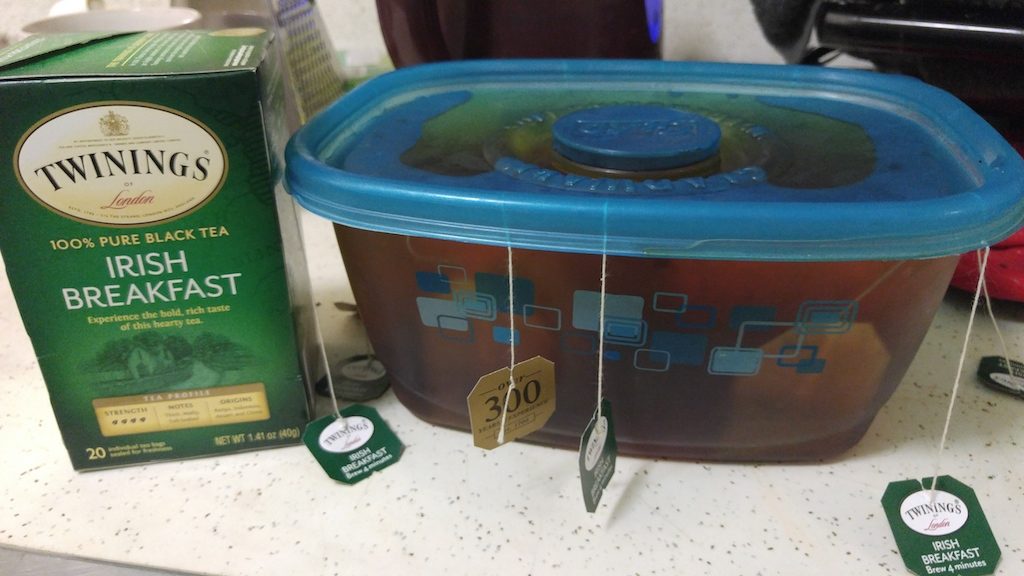
Irish breakfast tea (or Assam) features malty, roasty notes for a more full-bodied flavor versus standard black tea. I wanted the tea to give the beer a distinctive taste by subduing the style’s natural sweetness. The result gives you a more malty beer that goes down incredibly smooth despite the hefty flavor profile. The tea itself is never boiled by hot water because it would release tannins that would make the beer astringent. So I would cold brew the tea the night before bottling with the priming sugar, the same method you would make iced tea!
- 10 Bags of Irish Breakfast tea (The Twinings Brand can be found in most supermarkets)
- ½ Gallon of Water
- 1/3rd cup of Table Sugar (Skip the sugar if you are kegging)
- 12 hours of fridge time minimum.
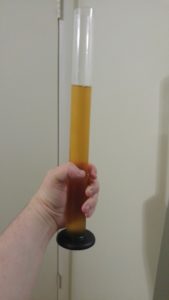
Now, this step is optional but very helpful if your beer is not clear enough. As I moved my beer to secondary fermentation, I dissolved 1 tsp. of gelatin in a cup of hot water. Once it was cooled, I poured the gelatin on top of the beer and placed the vessel into my refrigerator. This causes the yeast that was still stuck in the beer to flocculate (clump together) and clarify the beer. Normally we used finings such as Irish Moss or Whirfloc Tablets in the boil for this purpose, but if that’s not enough this is a good option. Just be sure to let the gelatin work for about a week so the yeast completely falls to the bottom and doesn’t end up in the final result.
No matter if you are bottling or kegging, be sure to put the tea into your vessel first. Then slowly siphon the beer into your container. The tea will slowly mix as it’s being filled but if you feel so necessarily, you can lightly stir with the siphoning hose as long as you don’t splash. (Splashing causes oxidation, which will make your beer taste like wet cardboard) The half-gallon of tea is going to increase your yield so do plan accordingly.
The Final Result
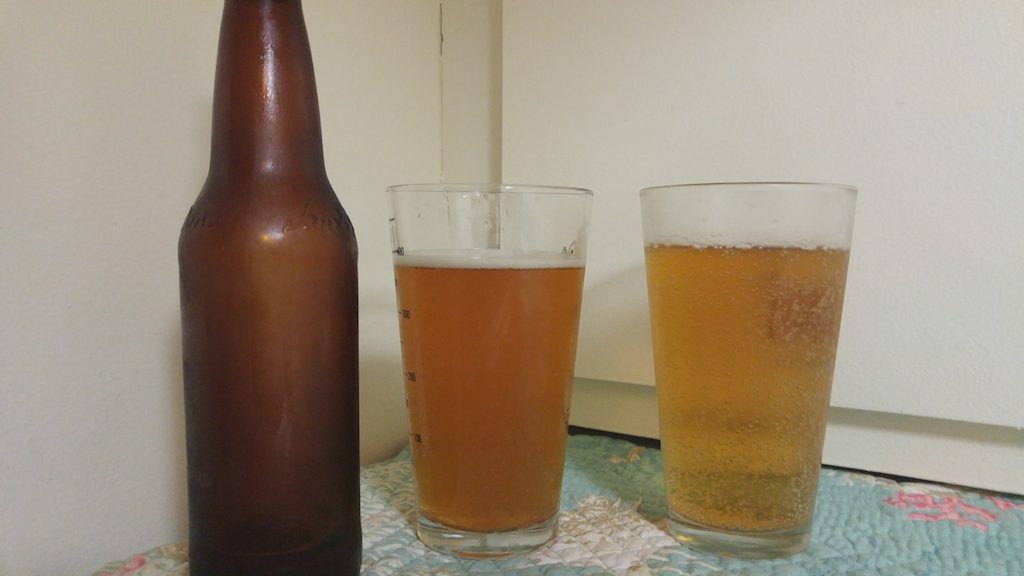
Original Gravity: 1.048 (Before Fermentation)
Final Gravity: 1.010 (After Fermentation)
Top of the Mountain might have more of a translucent gold color than well-known cream ales, yet the flavor is unparalleled. The Irish Breakfast tea gives the beer an incredible smoothness. The earthy undertones of the fuggle hops mellow out the sweetness from the corn and give a yeast-assisted honeysuckle aroma. You’ll be astonished at how crisp and refreshing this beer is. I’m proud that the beer won an award; I am prouder that it is the easiest beer to share with people.
I took a case to a 4th of July gathering and all the beers were taken within hours. Top of the Morning is a fantastic introduction to craft beer for anyone who is only familiar with the big three. If you follow my recipe or adapt it to your own system, I hope you find the glory in this underappreciated style.




Submit a Comment